🎉 New Joiner Guide – Design System & Tokens Studio
Welcome! This guide will help you get set up with the Flutter Design System and Tokens Studio plugin. As a new Product Designer, you’ll learn how to navigate our Design System libraries, set up Tokens Studio, and apply themes across all our brands.
1. Getting Started
-
Access Figma Make sure you have access to our Flutter Figma workspace. If you don’t, request access from your manager or DS team.
-
Enable DS Libraries In Figma, go to Assets → Library and turn on the Design System libraries you’ll need (e.g., components, icons, patterns). These libraries contain the foundations (colors, typography, spacing) and reusable components you’ll use every day.
-
Explore Quick Start Check the Quick Start file for examples of how to structure your designs using the DS.
2. Navigating the Design System
- Foundations → Colors, typography, spacing, grids.
- Components → Buttons, inputs, modals, and other UI building blocks.
- Patterns → Larger flows and templates.
👉 Always prefer using tokens + components rather than creating new styles from scratch. This ensures consistency across all products.
3. Setting Up Tokens Studio Plugin
-
Have GitHub access
- Before we can start using Tokens Studio, you'll need access to GitHub. The entire set-up process is described on this page: GitHub Access You must follow EXACTLY EVERY STEP!!!
- Also, please request a Pro Licence for Token Studio from your manager.
-
Install Plugin
- In Figma, search for Tokens Studio in the community and install it by hitting the
Installbutton on this page (either in Figma or in the browser)
- In Figma, search for Tokens Studio in the community and install it by hitting the
-
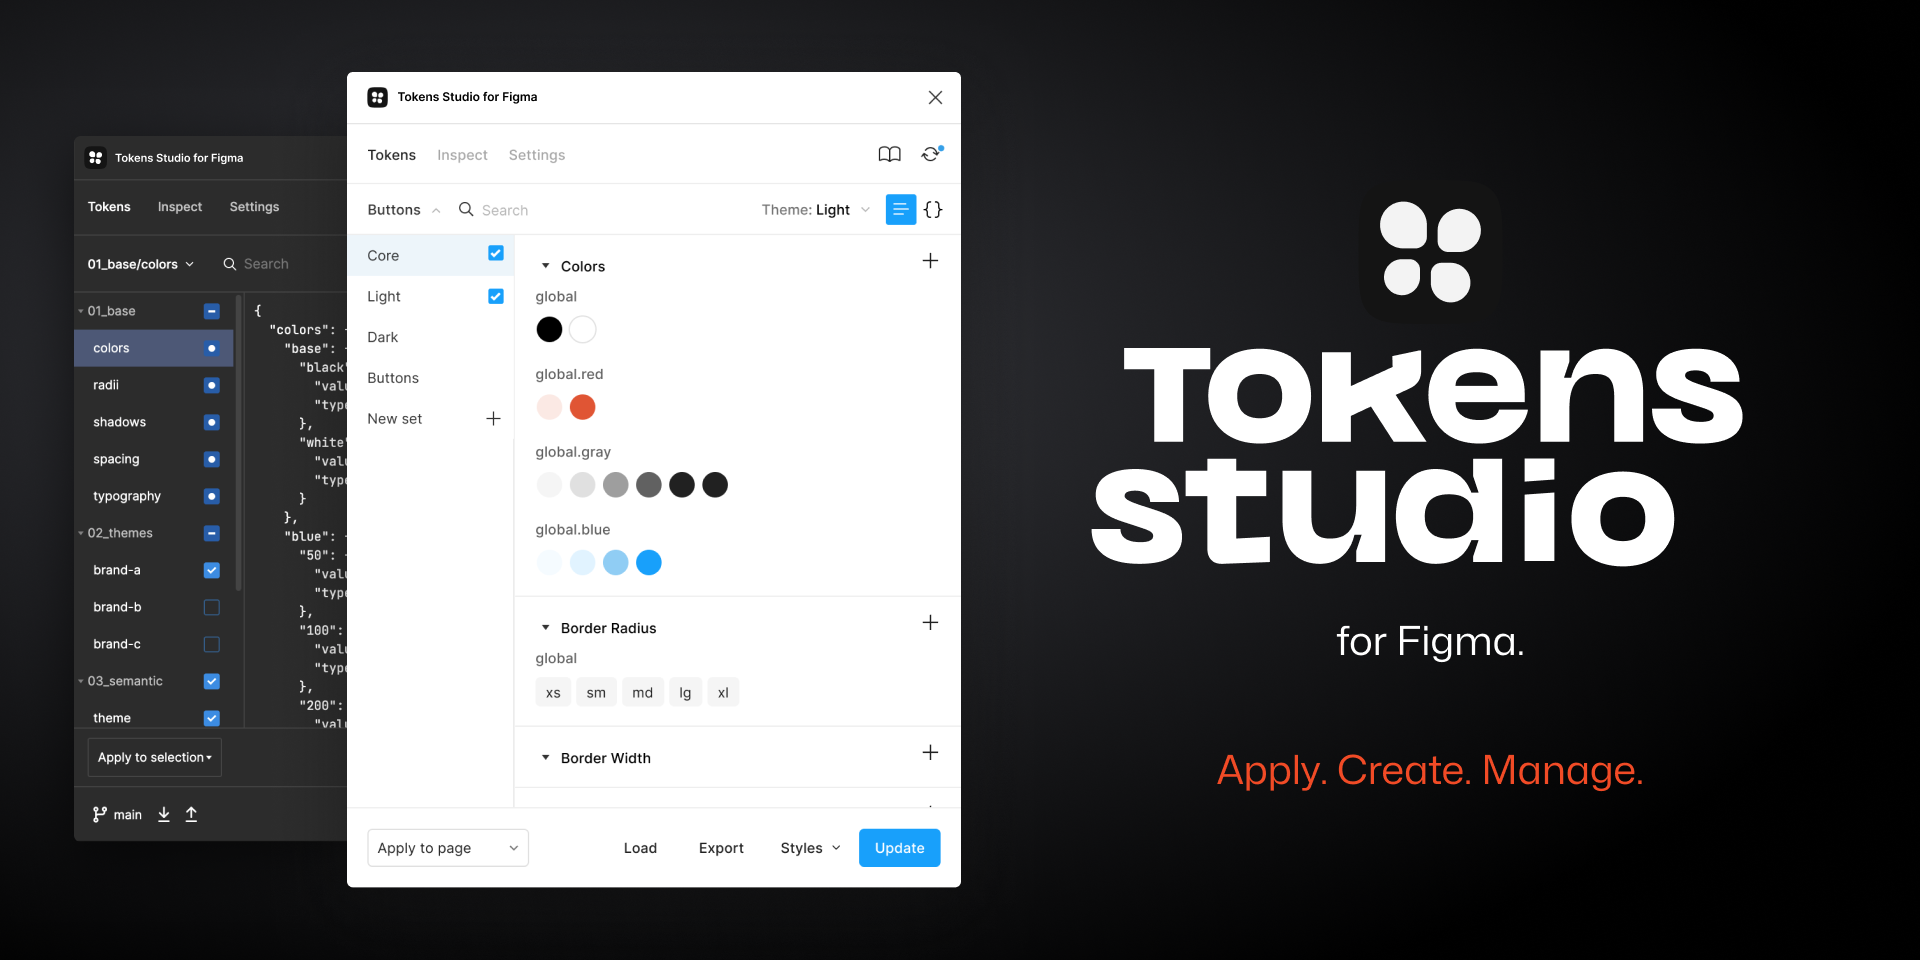
Open Plugin
- Run it inside your design file:
Right-click → Plugins → Tokens Studio. - If you launch the plugin for the very first time, you won't have any tokens defined just yet. Click on
Get startedto get started.
- Run it inside your design file:
-
Load Token Sets
- The DS team maintains token sets for colors, spacing, typography, etc.
- Load the shared configuration to make sure you’re using the correct values.
-
Apply Tokens
- Select a layer (e.g., a button background).
- From Tokens Studio, apply the relevant token (e.g.,
color.brand.primary). - This ensures your designs are linked to the system.
4. Applying Themes Across Brands
Our default/base theme is Agnostic. Start in Agnostic Light, then validate in brand themes and Dark mode.
Theme catalog
Default/base
- Agnostic
Brands
- Agnostic (default/base)
- Betfair
- Sky Bet
- Sky Vegas
- Sky Casino
- Sky Bingo
- Paddy Power Sports
- Paddy Power Games
- Poker Stars
Modes
- Light
- Dark
Naming pattern:
<Brand> <Mode>— e.g.,Agnostic Light,Betfair Dark.
How to switch (Tokens Studio)
- Open Tokens Studio in Figma.
- Use the Theme dropdown to pick Brand + Mode.
- Components update automatically.
Best practice
- Design in Agnostic Light first to keep decisions brand-neutral.
- Validate at least one brand and Dark mode before handoff.
- Prefer semantic tokens so brand overrides cascade cleanly.
5. Switch Themes
- In Tokens Studio, select Agnostic Light first (default/base).
- Then validate Agnostic Dark and at least one brand (e.g., Betfair Light, Paddy Power Sports Light).
- Fix any contrast/focus or layout issues revealed by theme changes.
6. Useful Links
7. Next Steps for You
- Explore the DS Libraries and play with a few components.
- Set up Tokens Studio in your Figma.
- Try switching between themes to see how designs adapt.
- Reach out to the DS team if you have any blockers.
✨ With this setup, you’ll be able to design faster, keep everything on-brand, and contribute to a scalable design system.